As promised I stayed up in the heat and finished my WW1 Foundry Rifleman test model, which I painted in the colours of the Canadian Corps circa mid to late 1916. Furthermore I made the miniature a member of the Van Doos, but I almost forgot to paint distinctive shoulder markings. 
This is the final of four blog postings about painting this model. It was painted beside the original test model, and another test model this one for my Servants of Decay army which I’ll be doing for next years Astronomi-con Vancouver. But the focus of this post is how I did my second and better but still not perfect Canadian WW1 infantry soldier.
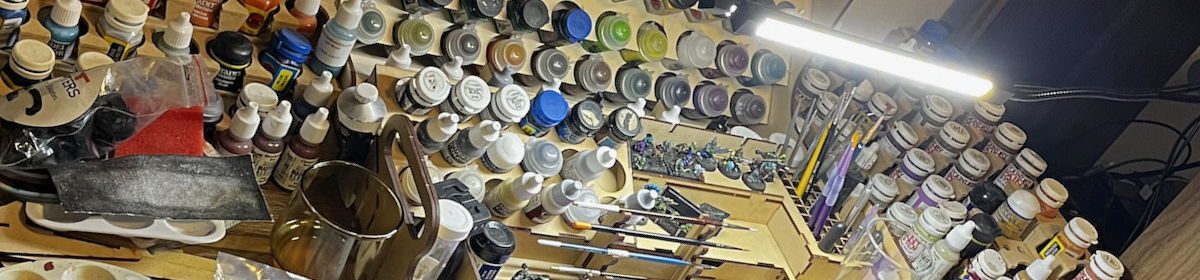
 Here is the recipe so to speak, any colours I don’t list a manufacture for are probably made by GW (Citadel):
- Clean, base and prime the model. I used Citadel spray black primer, but any black paint that is of reasonable quality will do.
- Uniform is painted Foundry British Uniform Brown Triad (#100) order A-B-C, with a Devlan Mud wash, after the wash was an edge highlight of 100C.
- Webbing is painted Iyanden Darksun with a Gryphonne Sepia wash and highlights with Vallejo Model Colour Beige (#917)
- Rifle stock and entrenching tools any dark brown, I used GW Scorched Brown.
- Weapons and canteen lid painted Boltgun Metal, washed with thinned armour wash, highlighted with Chainmail and selectively aged with Gryphonne Sepia.
- Flesh was Foundry Triad Flesh Triad (#5) order B-A-C, then a custom flesh wash made from red and brown ink, I used old GW inks Rust Brown and Plasma Red. Finally another highlight of Flesh 5C.
- Then I painted the rest of the gear which was the helmet, canteen, and ‘putties’ using Foundry Triad Drab (#12) in the order of A-B-C.
- I then highlighted the black boots with Foundry Triad Charcoal Black (#34) with order B-C-A.
- Then I used a tiny bit of Badab Black wash on the ‘putties’ and on the boots, this was very selective and subtle.
- I did the eyeballs of the model, little bit of white paint, even less a dot of black paint, fix up any flesh with 5A.
- Finally I drybrushed the beach sand on the base with three GW Browns: Bestial, Snakebite Leather, and Bubonic.
- Fixed up the rim of the base with Chaos Black paint.
- Painted the insignia, a blue rectangle with a red circle above it on both shoulders. I decided to use Deadly Nightshade (old GW paint) and for the red I’ll go with GW Blood Red.
That’s it, I recommend sealing your model the next morning when it is good and dry with a Matte Sealant. I may use Purity Seal, I may use Krylon, but I’ve read and been told that Testors Dullcoate is the best. 
 If you’re going to paint a platoon of these guys you can try to cut corners, use only part of the Triads, the Foundry Drab Triad all three colours are quite different but if you have faith, thin your paint, and feather in a bit… Anyway experiment with the triads, try just the B with the C as a highlight or maybe the A with a B highlight, try leaving out some of the washes, use just one metal colour etc. etc.
I also used the P3 Wet Palette for most of these colours which ensure you thin your paint at least, but maybe it is too much. It definitely isn’t necessary I’ve painted 100’s of minis without one. I don’t use my metallics in the wet palette, I’m worried about contamination. Now to take the final pictures and then try to get some sleep.


Apparently there are at least two mistakes on my test figure, the shoulder straps shouldn’t be Khaki, but should be Uniform Brown with a little brass C22 in 1916 which basically will not be shown due to scale.
The second mistake is the Lee Enfield rifle stock should cover most of the barrel on the top of the rifle, so more brown and less Boltgun Metal is the order of the day. It is possible the metal on the gun should be blacker too, but you’re allowed some artistic license right?